PlantSnap - AI Plant Care
A cloud-native web application that identifies plants using Computer Vision AI, tracks watering schedules in Cosmos DB, and sends email reminders via Azure Functions and Communication Services.
PlantSnap is an original and modern web application built on the Microsoft Azure cloud platform. The app allows users to identify plants from photos using Artificial Intelligence, retrieve detailed watering and care instructions, save plants in a personal virtual garden, and receive automatic watering reminders by email.
This project was developed as a mini-project for the Cloud Computing course and fulfills all assessment requirements.
🛠️ System Architecture & Services Used
The architecture of PlantSnap was designed following principles of scalability, decentralization, and serverless computing:
- Frontend (User Experience): Responsive, modern Single Page Application (SPA) with a tab-based design (Identify, Garden, Profile). Developed using HTML5, Vanilla CSS3, and JavaScript.
- Backend (Docker Container): REST API built with FastAPI (Python 3.11). The entire API logic is containerized with Docker and runs on Azure App Service.
- Database (CosmosDB): NoSQL database (SQL API) to store plant records saved by users (
userId,plantName,watering,imageUrl, etc.) and their notification preferences. - Cloud Storage (Azure Blob Storage): Public binary storage in the
plant-imagescontainer to host plant photos uploaded by users. - Serverless Computing (Azure Function): A Python-based timer-triggered function (
WateringReminder) that runs periodically to fetch plant records from CosmosDB and send email notifications. - Azure Communication Services (ACS): Used for automated transactional emails using responsive, premium HTML templates.
- AI & API Integrations:
- Azure Computer Vision: Analyzes the image on the backend to verify it is a plant before querying the identification engine.
- Plant.id API & KB: Identifies the exact plant species, computes confidence scores, and fetches detailed watering data and botanical descriptions.
🚀 Live Demonstrations
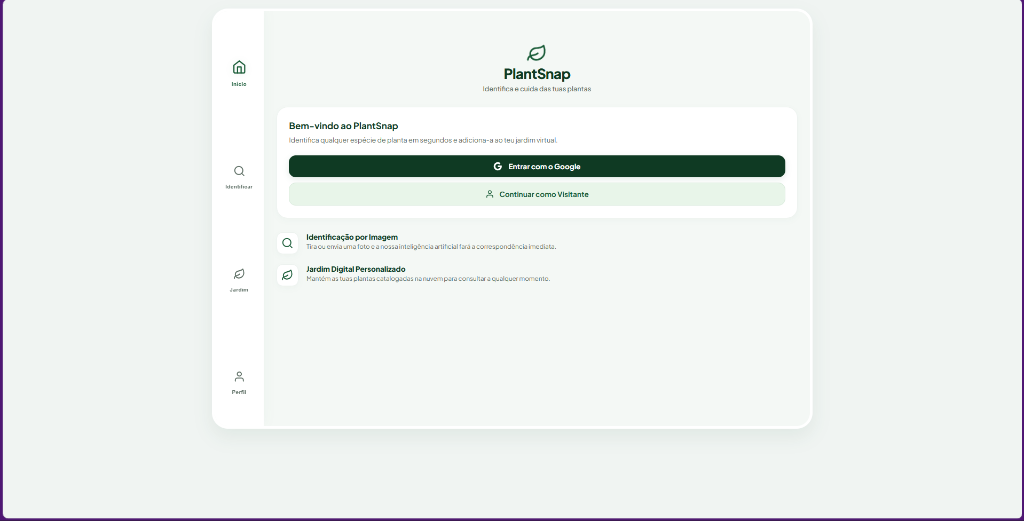
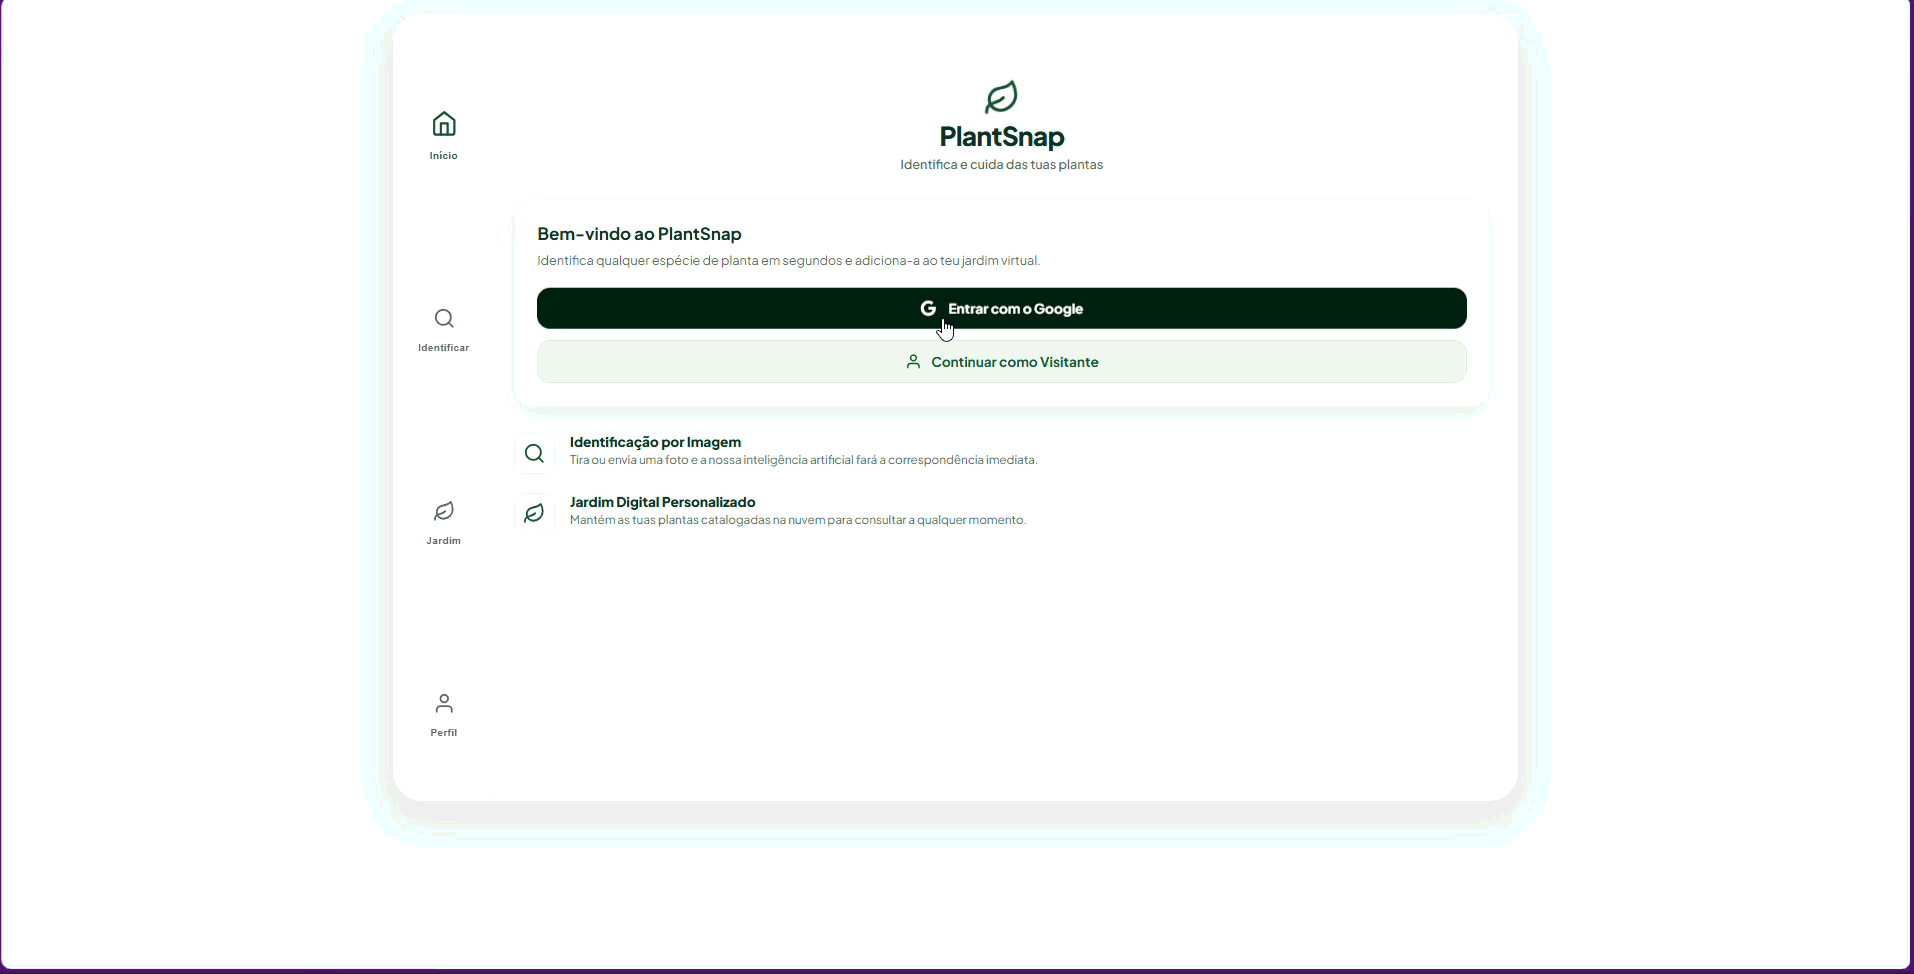
1. Authentication & Onboarding
Users can securely log in to the platform to manage their personal garden.
2. Plant Identification & Saving
Using a camera or uploading a photo, the system identifies the plant species and allows the user to save it to their virtual garden.

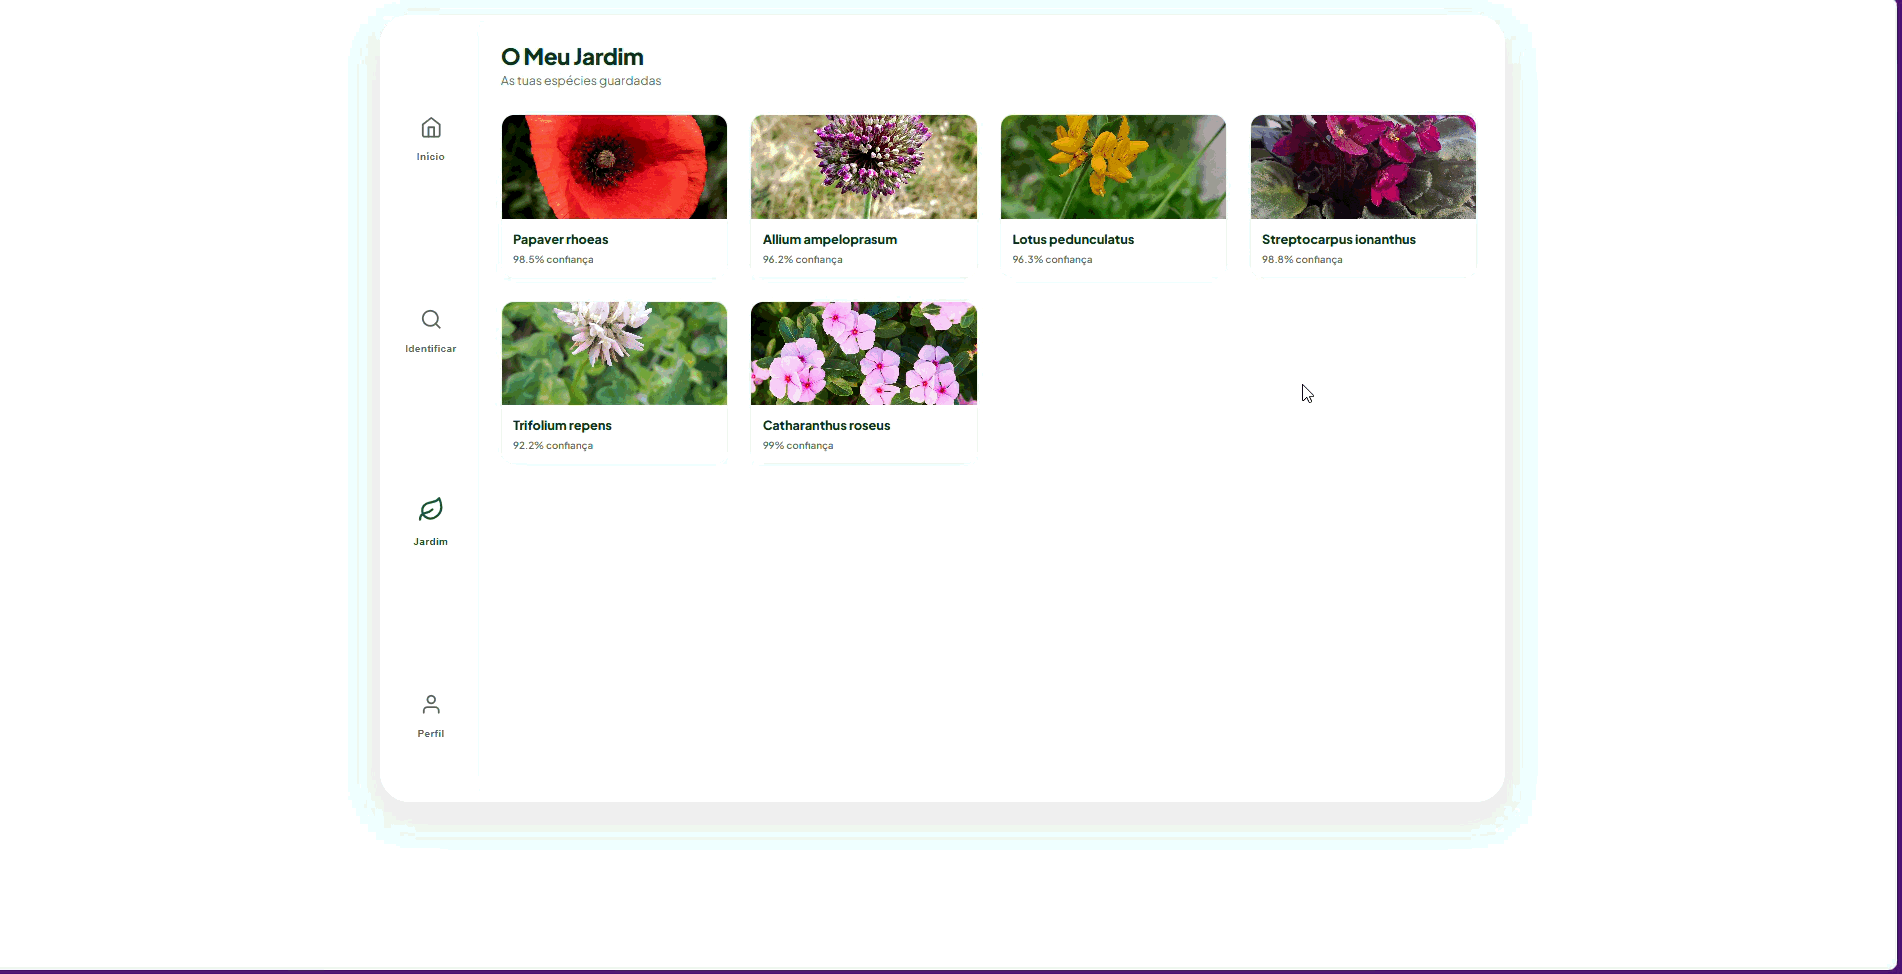
3. Personal Virtual Garden
An interactive dashboard displaying all the plants registered by the user with their specific watering schedules.
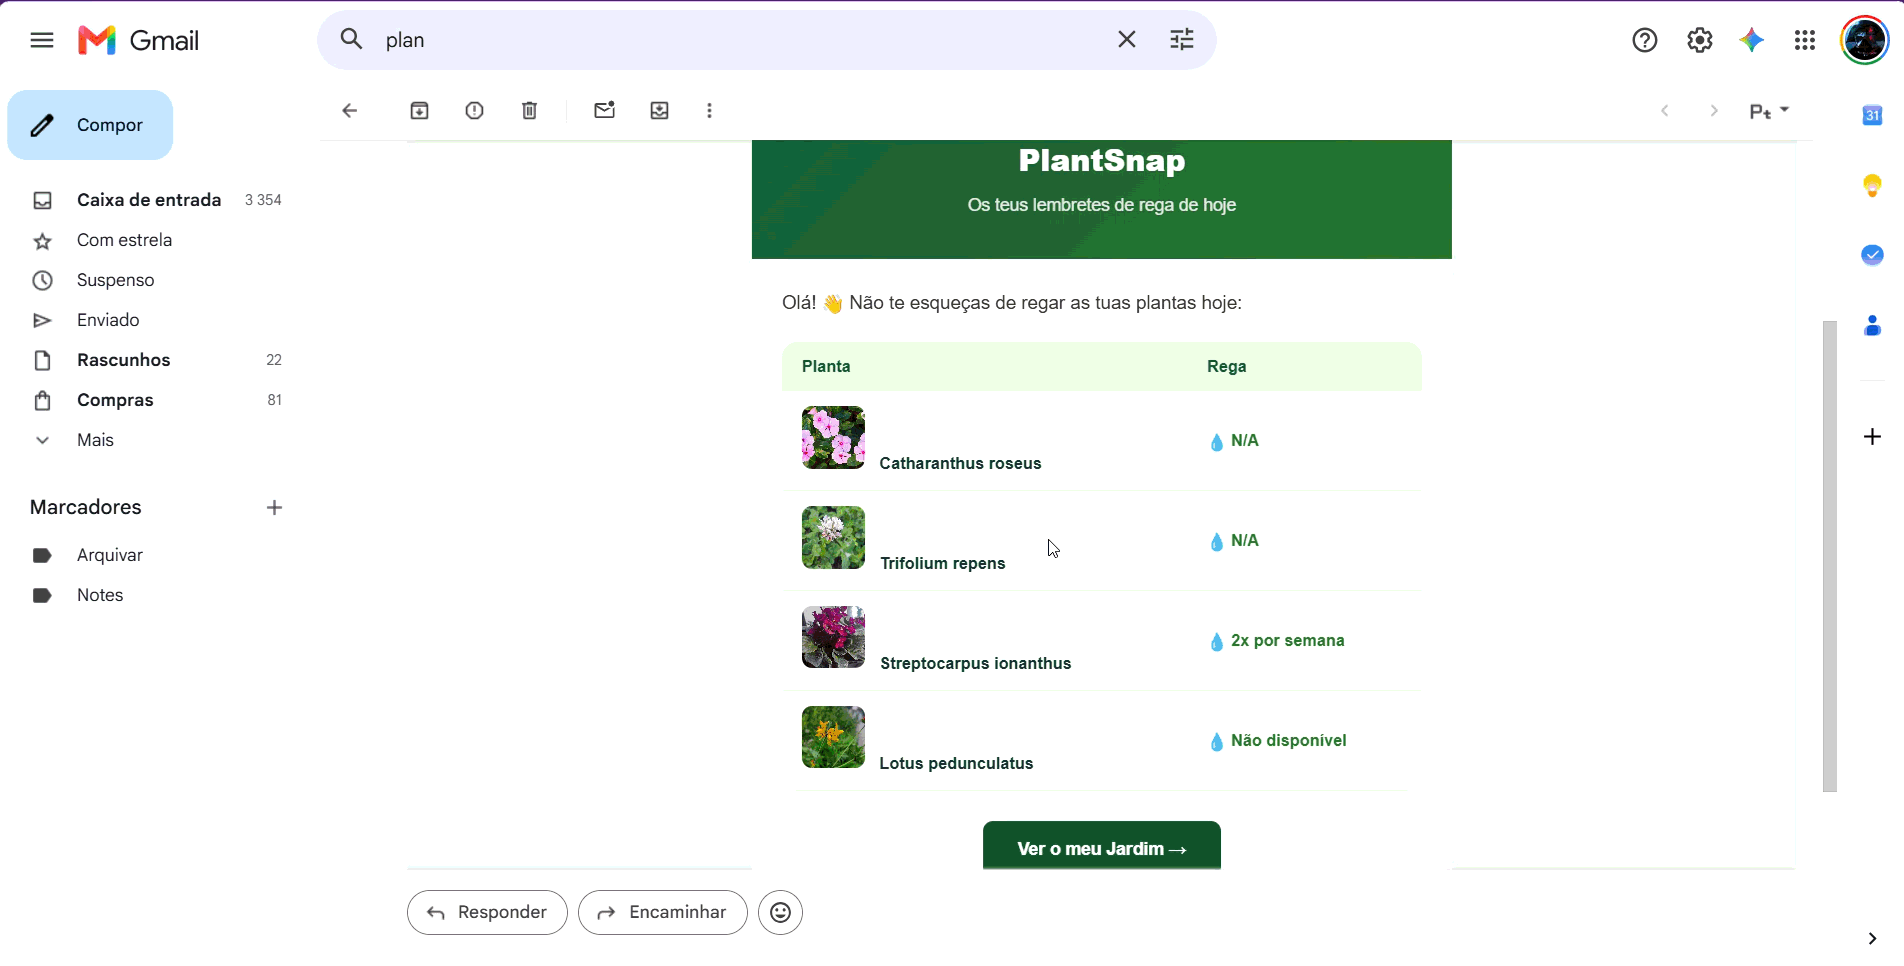
4. Email Notifications & Reminders
Automated, personalized watering alerts with care instructions are delivered directly to the user's email inbox.
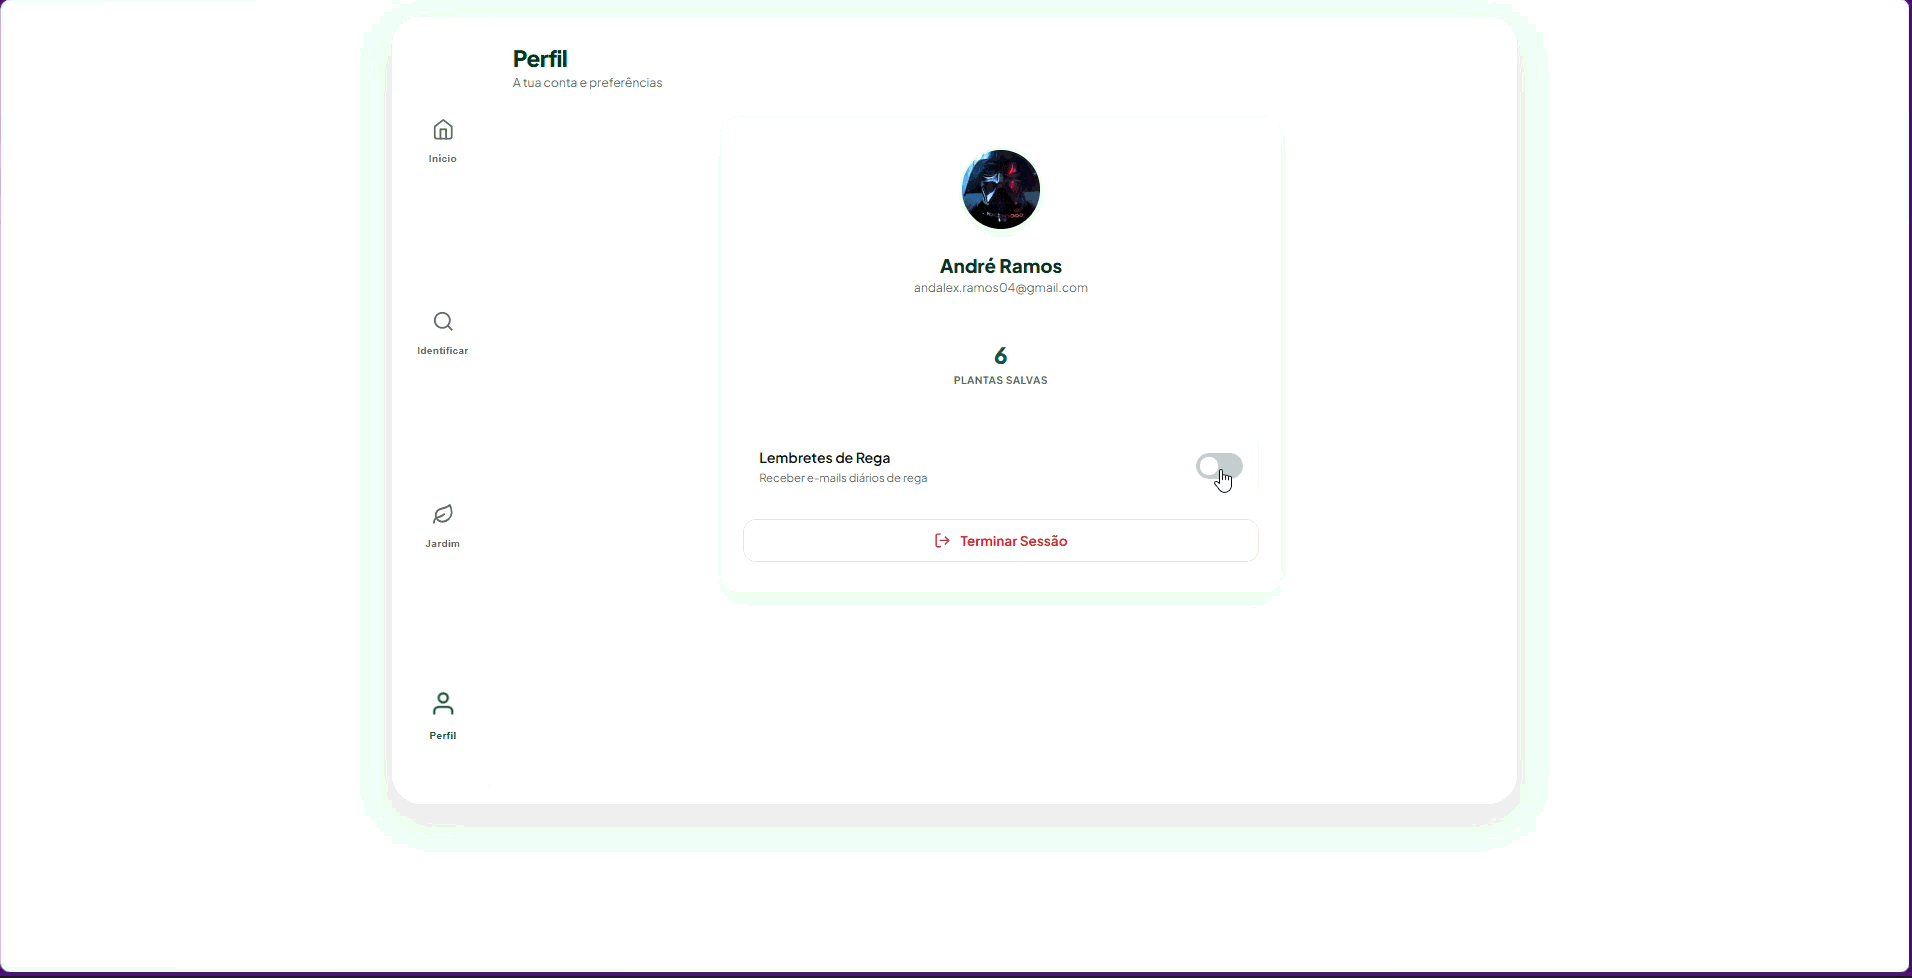
5. Logout & Preference Management
Secure session termination and cleanup of cookies. Users can manage their contact preferences at any time in their profile through a dedicated toggle switch to enable/disable automated email watering reminders.
🚀 How to Run Locally
1. Prerequisites
- Python 3.11+ installed
- Docker installed (optional, to test the container image)
- Environment variables configured in a
.envfile in the backend root
2. Configure Backend
Navigate to the backend/ directory and install dependencies:
cd backend
pip install -r requirements.txt
Create a .env file with the required keys:
COSMOS_ENDPOINT="https://plantsnap-cosmos.documents.azure.com:443/"
COSMOS_KEY="<your-cosmos-key>"
COSMOS_DATABASE="plantsnap"
COSMOS_CONTAINER="plants"
STORAGE_CONNECTION_STRING="<your-storage-connection-string>"
STORAGE_CONTAINER="plant-images"
VISION_ENDPOINT="https://<your-vision-resource>.cognitiveservices.azure.com/"
VISION_KEY="<your-vision-key>"
PLANTID_API_KEY="<your-plantid-key>"
Start the development server:
uvicorn main:app --reload
The application will be available at http://localhost:8000/app.
3. Configure Azure Function
Navigate to the function/ directory and install dependencies locally for testing:
cd function
pip install -r requirements.txt
Configure the corresponding variables in local.settings.json and start Azure Functions Core Tools:
func start
🤖 Infrastructure Automation (IaC)
The cloud infrastructure for the project can be automatically provisioned in two ways:
Option A: Terraform (Recommended)
The entire infrastructure is declared in the /terraform directory using HCL configuration files.
- Install Terraform.
- Log in via Azure CLI:
az login. - Navigate to the folder and initialize Terraform:
cd terraform terraform init - Plan and apply changes:
terraform plan
terraform apply
Option B: PowerShell Script + Azure CLI / Bicep
If you prefer imperative scripting or Bicep:
- Open a PowerShell console with appropriate permissions.
- Run the deployment script located in
/infrastructure:
The script will automatically create the resource group, ACR, CosmosDB, Storage Accounts, App Service, and Function App../infrastructure/deploy.ps1